Can you imagine a volcano eruption happening right in front of your eyes? Watching the lava shoot out and slowly making its way down the volcano? This incredible natural spectacle is what expects you on the Acatenango Volcano Hike.
It was one of the most amazing experiences of my life and it’s the highlight of most people’s Central America trip. Actually, this was even my main reason for traveling to Guatemala. I’ve been wanting to do the Acatenango Volcano Hike since I first heard about it and the actual experience topped everything I had imagined.
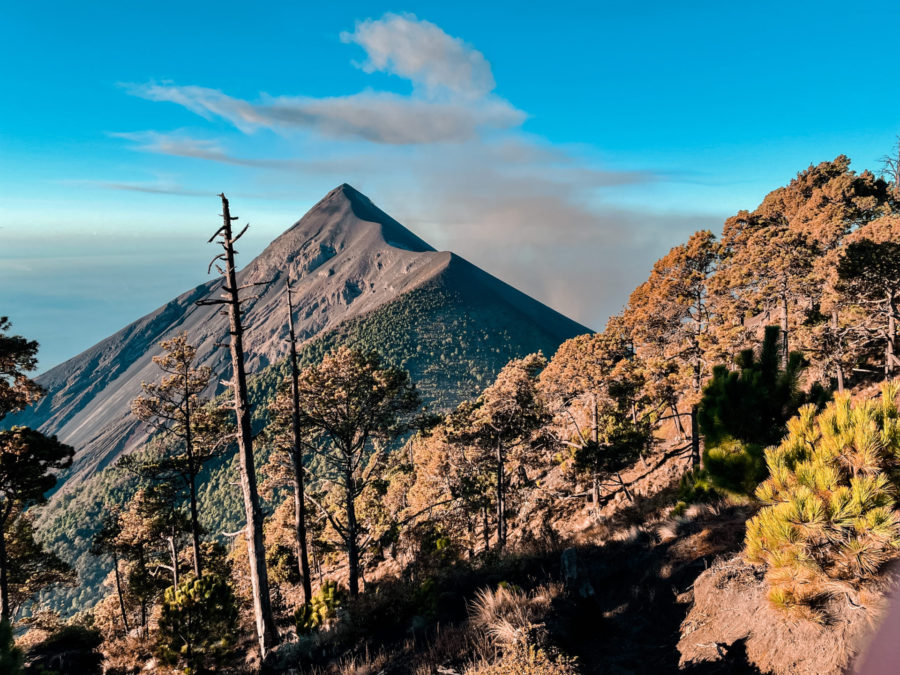
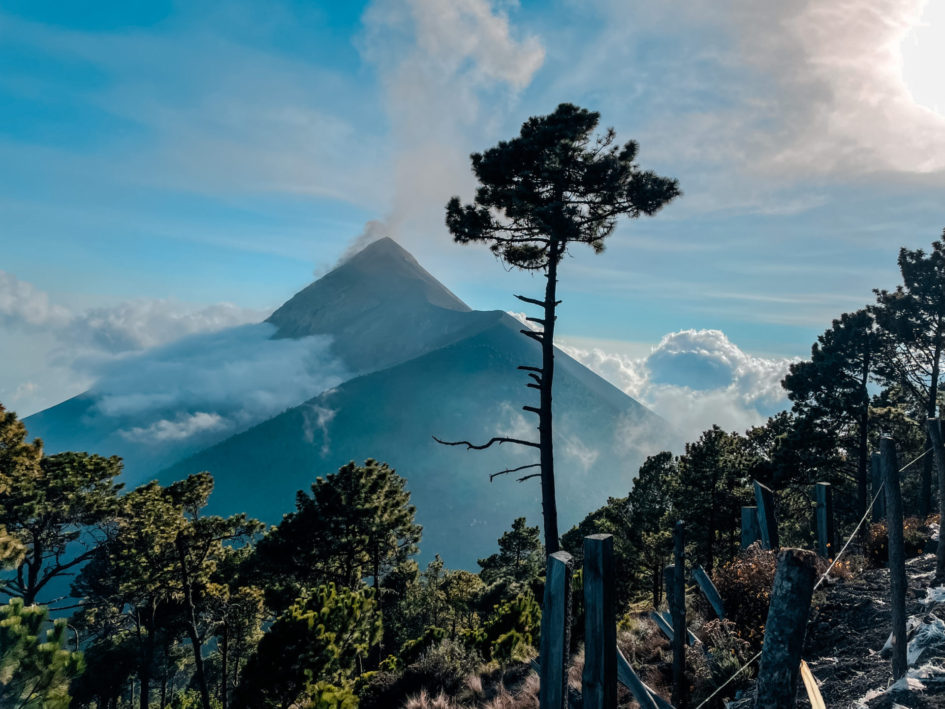
Acatenango is a dormant volcano near Antigua in Guatemala, located right next to the highly active volcano Fuego. The last eruption of volcano Acatenango was in 1972, while the neighboring active volcano Fuego erupts about every 15-20 minutes everyday – being especially active at night. When hiking up volcano Acatenango, you will have a stunning view of the nearby volcano Fuego and its eruptions.
The Acatenango Volcano Hike is one of the most popular things to do in Guatemala for travelers, besides visiting the beautiful Lake Atitlán or the remote beach town El Paredon.

This post may contain affiliate links. If you make a purchase through one of my links I will receive a small commission which helps me to maintain my site. This has no extra cost for you and you will make my day!
Table of Contents
Things to know before doing the Acatenango Volcano Hike
There are some things you should know before doing the Acatenango Volcano Hike, such as which company to book with and what to pack. Here I’m sharing all the useful information you may need.
Which company to choose for the Acatenango Volcano Hike
Choosing the right company is essential for having a good experience on your adventure. I am a budget traveler and I usually pick the cheapest option for anything, but believe me when I say do not go with the cheapest agency.
Why not? The cheap agencies save money by cutting down on equipment, by not having enough sleeping bags or headlamps, by cutting down on their guides while increasing the number of people in the group, and by providing meals that leave you hungry.
You don’t want to end up without a sleeping bag when it’s freezing outside, and you don’t want to be without a headlamp when hiking to 4,000 m in the dark.
That being said, I can absolutely recommend doing the Acatenango Volcano Hike with CA Travelers. I did this adventure with CA Travelers because others recommended them to me and it was definitely the right decision.
They have great equipment that helps you to stay warm in the tent, their meals are nutritious and filling, and there’s a maximum of 2 people in a tent (I’ve heard that other companies squeezed up to 10 people in one tent). Plus, they try to be as environmentally friendly as possible, using reusable lunch boxes and water bottles to reduce waste. They also made their company a social project, using profits to provide education for kids from poor families.
I also heard good things about OX Expeditions, but I can only talk about my experience with CA Travelers.
If you want to book your Acatenango experience online in advance, you can do that with Get your Guide. This experience is similarly priced to the offer of CA Travelers and has great reviews:
Price of the Acatenango Volcano Hike
CA Travelers charge 475 QTZ (55 EUR) for this hike, including pick-up and drop-off in your accommodation, transportation, guides, meals and equipment.
There are some other agencies that offer the hike for as cheap as 250 QTZ (30 EUR), but as I said before, you don’t want to go for the cheapest option with this hike. Tasty meals, good equipment and professional guides are worth it to pay a little more.
If you want to do the optional hike to volcano Fuego, you need to pay 200 QTZ (23 EUR) extra. You can decide that once you’re at the base camp and you will pay the guide directly there. The sunrise hike to the peak of Acatenango the next day is included in the price.
What is included in the Acatenango Volcano Hike?
If you book with CA Travelers, the equipment includes:
- Winter jacket
- Rain poncho
- Lunch, dinner, breakfast + cutlery
- Cup
- Ski gloves
- Camel bag with 3 liters of water
- Headlamp
- Tent & sleeping bag
- Bandana
If you need hiking boots or a backpack, you can also rent them from the agency. Let them know in advance, as the availability is limited.
What to pack for the Acatenango Volcano Hike
- Layers: You will be warm during the day and freezing at night. I was wearing 5 layers at night: a t-shirt, 2 long sleeve shirts, a jumper and a winter jacket. Plus, 2 layers of pants, a thick scarf, a warm hat and thick socks.
- Hiking shoes: It would be ideal to wear hiking boots. I did the hike in my Adidas running shoes and I was fine too, I just had less grip than others.
- Snacks: The company you do the hike with will provide you with 3 meals, but I recommend bringing additional snacks that give you energy. Especially if you plan on doing the 2 optional extra hikes you will be glad to have more snacks. I brought 2 bananas, nuts and dried fruits.
- Water: If you do the hike with CA Travelers, they will give you 3 liters of water. Again, this will probably be enough if you only hike to the base camp. But if you do the 2 extra hikes I recommend bringing one additional liter of water.
- Camera: Bring your phone or a professional camera to take photos. Make sure to keep your electronic devices inside your sleeping bag at night, otherwise the cold might drain the batteries.
- Power bank: There’s obviously no electricity to charge your phone, so bring a power bank with you. Keep it inside the sleeping bag at night as well.
- Tissues/toilet paper: My nose was constantly running because of the volcanic dust that I inhaled during the hike. It would be convenient to have some tissues with you. Don’t throw them away on the volcano – keep them and take them back down again!
You will need a 40-50 liter backpack to carry your equipment. If you don’t have one, you can rent it for 50 QTZ (6 EUR) at the agency. Let them know in advance to reserve one for you, as they have limited backpacks available.
Is it safe to do the Acatenango Volcano Hike?
In general, I would say it’s very safe to do this hike. However, it is an adventure and a tough climb, which naturally comes with some risks. If you trip and fall you could hurt yourself, but I guess that’s pretty obvious.
Other than that, the only risk is the active volcano Fuego which erupts every 15-20 minutes. Generally, there’s not much of a risk because you will be far enough away from the eruption to be safe. However, there is no way to predict the size of the eruptions. When you do the optional extra hike from the Acatenango base camp to Fuego, you will be pretty close to the eruptions. In 2018, there was a really big eruption that nobody expected and it killed many locals who had their houses on the foot of the volcano. Tourists who did the hike that day had to run down from Acatenango to escape the ashes.
When I did the hike in January 2022, it was officially prohibited to hike to Fuego, because the volcano had been more active than usually and some people expected bigger eruptions. Nevertheless, all the tours still offered the hike to Fuego and I did it anyways. I felt safe but as I said, there is no way to predict nature and an adventure like this always includes some sort of risk. In the end, you’re responsible for yourself and it’s up to you if you want to get that close to the eruptions or not. I’m not trying to scare you, I just want to make you aware of potential risks.
Most likely, nothing will happen to you. Hundreds of tourists do this hike everyday and they get back down safe and sound.
Difficulty of the Acatenango Volcano Hike
I’m not gonna lie, this hike is pretty tough. The first two hours of the hike are the steepest and after that it gets slightly flatter. You will make breaks at least every half an hour, which makes the climb a little less exhausting. Getting from the entrance to the base camp was pretty easy for me, but I’m also an experienced hiker. What was really hard were the two optional extra hikes to Fuego in the evening and to the summit of Acatenango the next morning.
Now the good news is, you don’t have to do the extra hikes. If the 6 hour climb to the base camp is already a challenge for you, then I wouldn’t necessarily recommend doing the extra hikes, or maybe only one of them. You can just stay in the base camp and comfortably enjoy the panoramic view of volcano Fuego’s eruptions and the surrounding mountains from there.
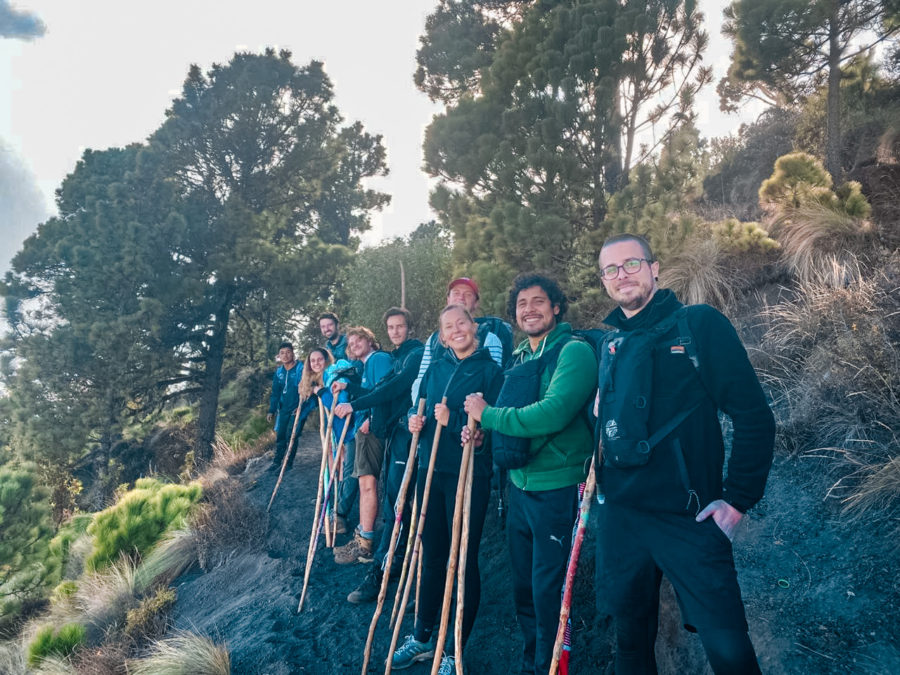
Our group had 3 guides so on the way to the base camp we split up according to our pace. There was a guide with the fastest hikers, one in the middle and one with the last person. Nobody gets left behind. Even if you are struggling a lot, there will always be a guide with you.
Other things to consider
Altitude sickness
You will start the hike at around 2,200 m above sea level and the base camp is located at around 3,600 m. If you do the sunrise hike to the summit of Acatenango, you will go up to 4,000 m above sea level. In case you’re not used to being in such high altitudes, there is a chance that you might struggle with altitude sickness.The thing with altitude sickness is that you won’t really know in advance if you will get it. One way to avoid it is by spending a night in a rather high altitude before the hike to adjust your body to the lower amount of oxygen in the air. Also, walk slowly and drink enough water on the way up. As soon as you notice a headache or dizziness, slow down and take a break.
Rent two walking sticks
At the trailhead there are some locals who rent out walking sticks for the hike. Get two of them! Believe me, you will need them. Sometimes the trail is extremely steep and sandy. Without the sticks you might just slide back or fall because you lose grip. Renting walking sticks costs 10 QTZ (1,20 EUR) and they will make your life on the volcano so much easier. Without them, I would have fallen on my bum so many times.
If you want to save energy, get a porter
There are porters available to carry your backpack to the Acatenango base camp. They charge 150 QTZ (17 EUR) for one way. The backpack can only have a maximum of 10 kg to not exploit the porters and keep the conditions human for them.
Initially, I thought I wouldn’t get a porter. But then the organizer of the tour explained that if we had the spare money, it would support a local family that depends on this income. 17 Euros is not that much for me, but it’s a lot for an indigenous family that doesn’t have much. I got a porter on the way up and I was glad that I did. You can walk more freely as you have 10 kg less on your shoulders. It also helps to save your energy, especially if you want to do the two extra hikes to Fuego and the summit of Acatenango.
Acatenango Volcano Hike - DAY 1
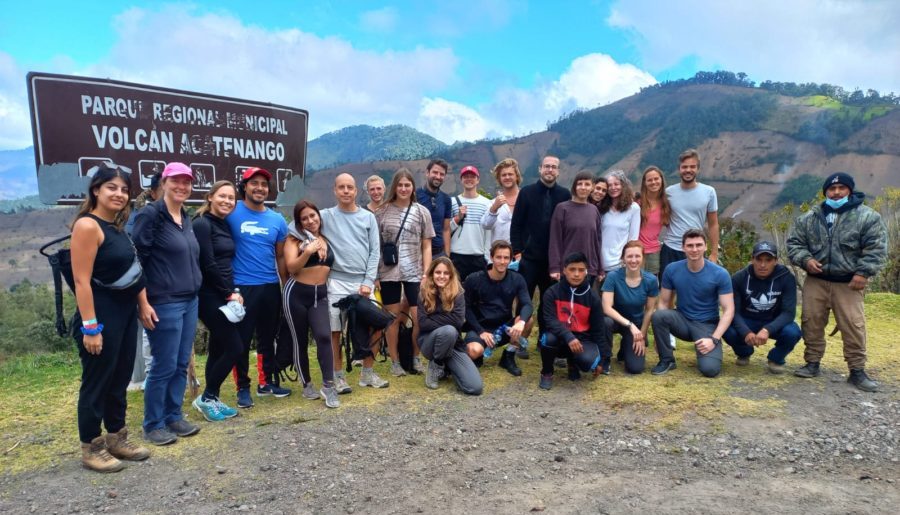
On the first day I was picked up at 8 am from my hostel to get to the distribution center of CA Travelers. This is where we got all the equipment such as lunch boxes, jackets, headlamps, etc. From there it was a 40 minute drive to the trailhead.
At the trailhead you can rent walking sticks (which I highly recommend!) and if you signed up for a porter, this is where you pay him and you hand him your backpack.
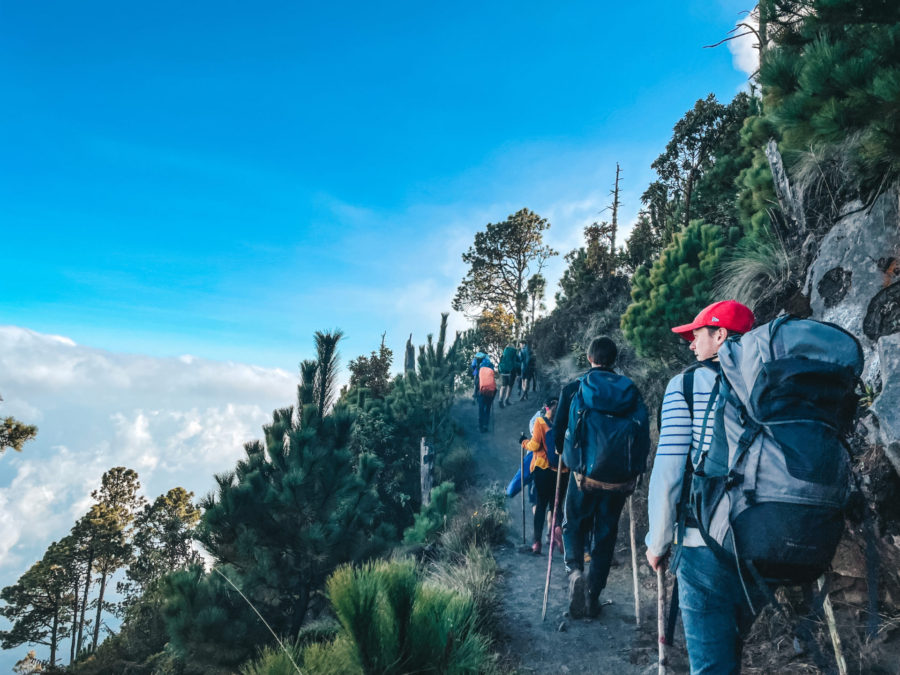
The hike started with a rather steep ascend, but after only 30 minutes we already made our first break. I was honestly surprised by how many breaks we made and I guess that’s why the climb wasn’t hard for me at all. Before I could even get exhausted, we had already stopped again for another break. As the group had people with different levels of fitness, the guides made sure that everyone was doing fine at all times.
After about 2 hours of hiking we made a 45 minute lunch break. For the meals you can choose between meat, vegetarian, vegan or gluten free. Everything was very healthy, tasty and nutritious.
Arrival to the base camp
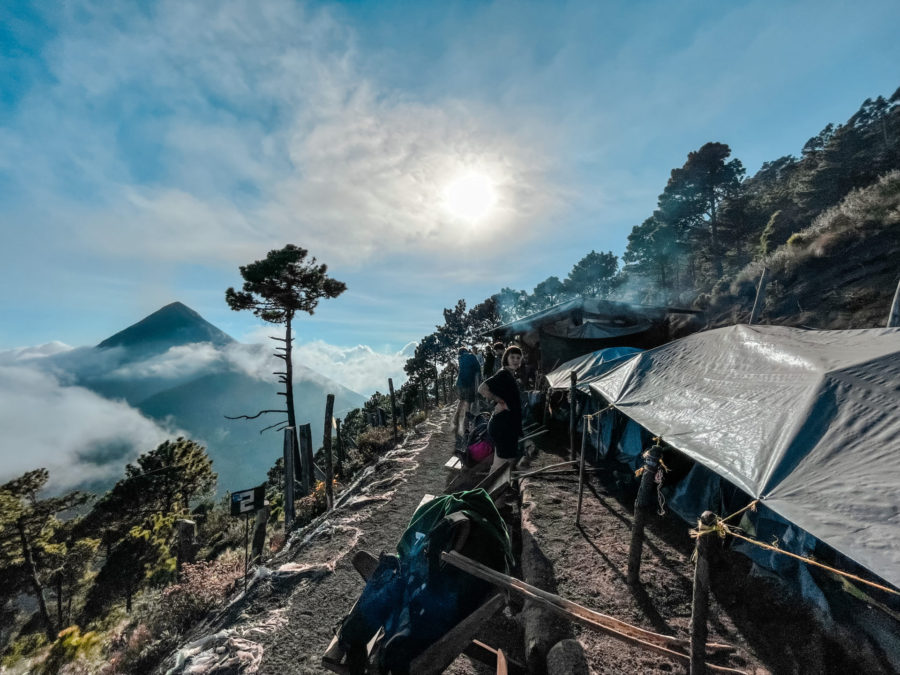
We got to the Acatenango base camp at around 4:30 pm. When we arrived, we were assigned to our tents with a maximum of two persons per tent. We made a 30 minute break to enjoy the view and to recharge our batteries before heading off for the sunset hike to volcano Fuego.
Those who didn’t join the extra hike stayed in the camp. They could relax next to the fireplace or walk around the camp and find a beautiful spot to watch the sunset.
Sunset hike to volcano Fuego (optional)
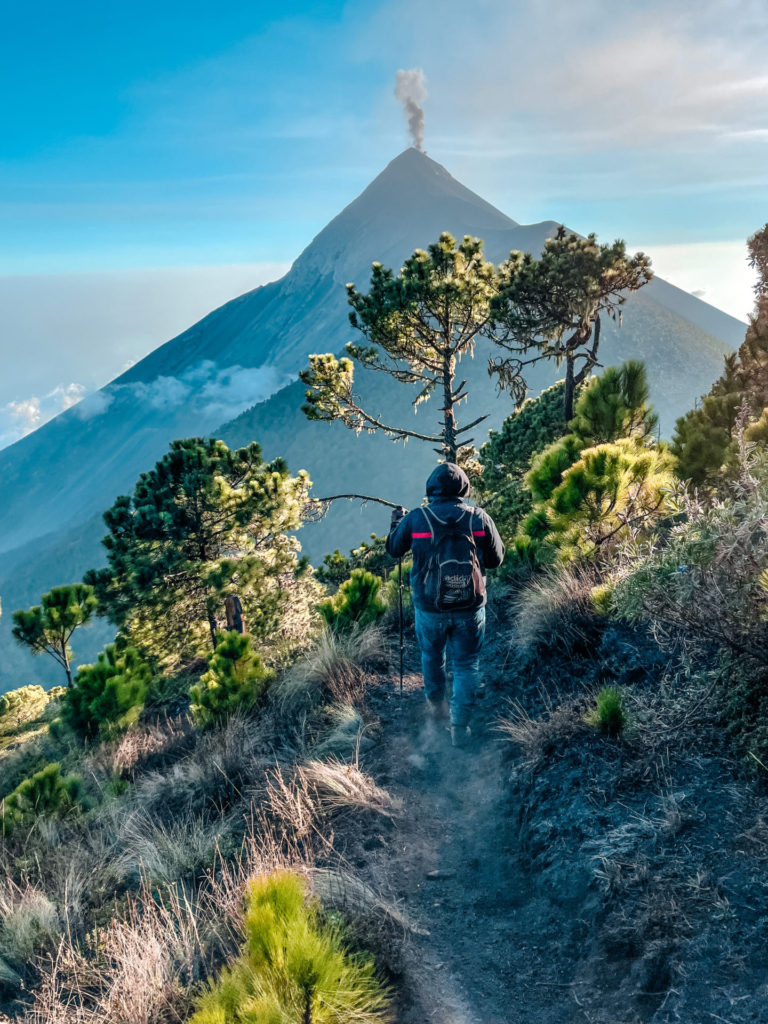
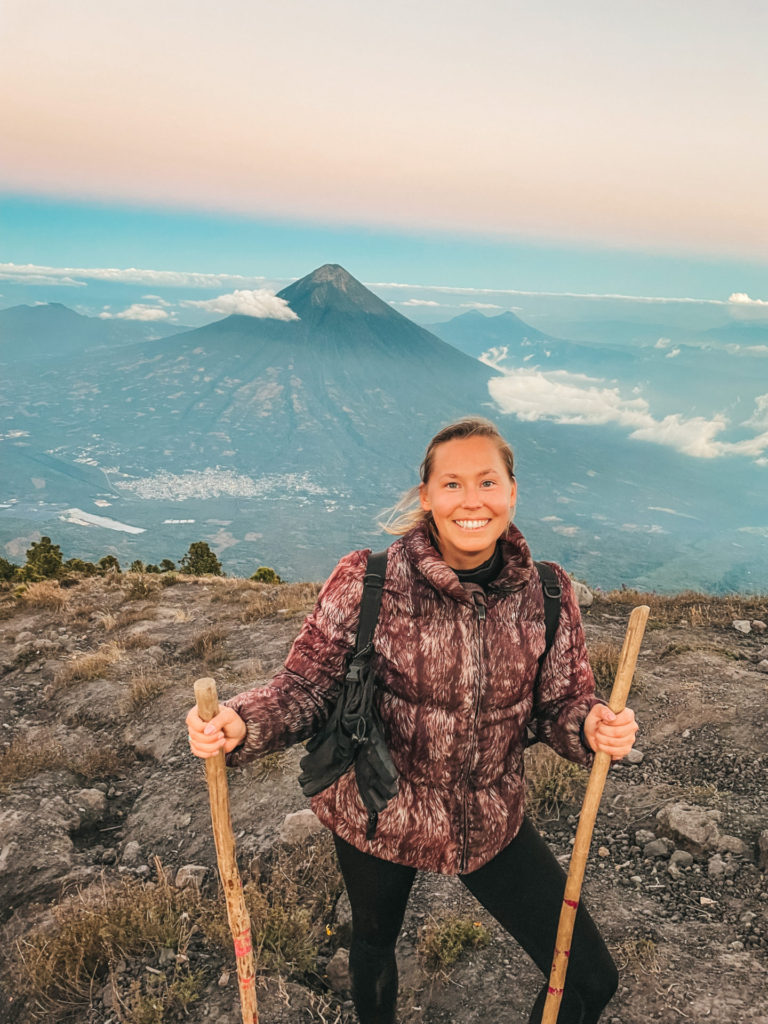
If you want to do the sunset hike to volcano Fuego, you need to pay 200 QTZ (23 EUR) extra to your guide. You can decide spontaneously at the camp if you want to join it or not.
First, the hike to volcano Fuego doesn’t seem that hard, but the way back really challenged me. From the base camp, you walk down a very steep and slippery path for about half an hour. After that, you have to walk uphill again for about an hour on the other side. So basically, you walk a V-shape: first down and then up again. This was still okay, and I was surprised why everyone had told me that the Fuego hike was so hard.
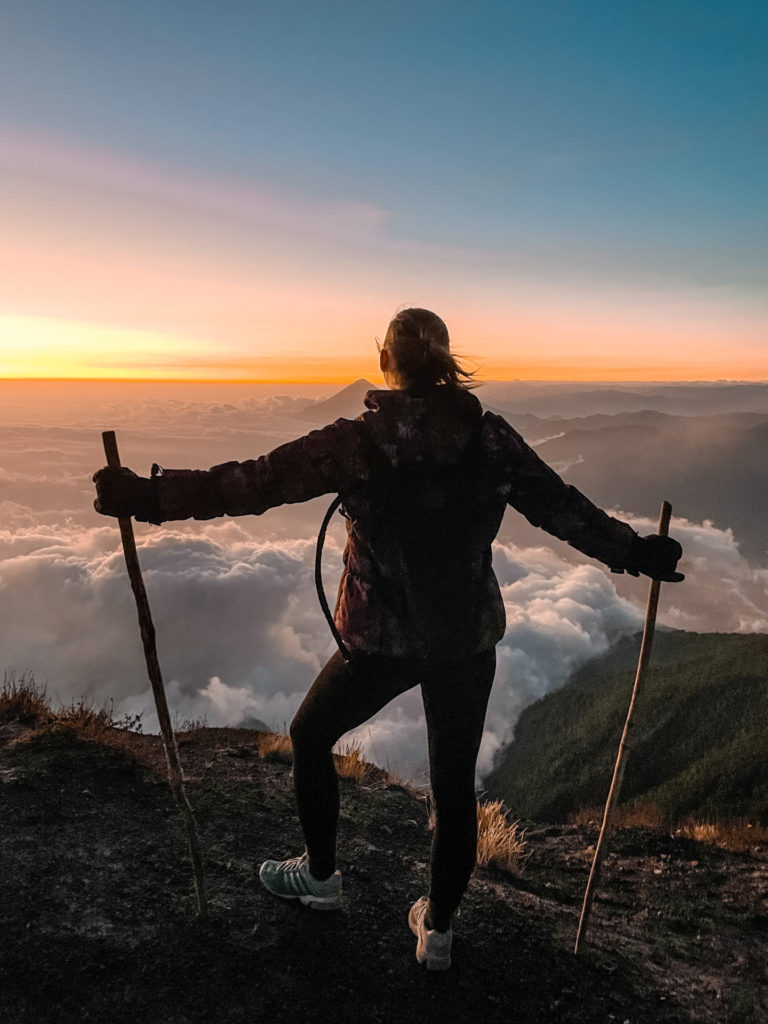
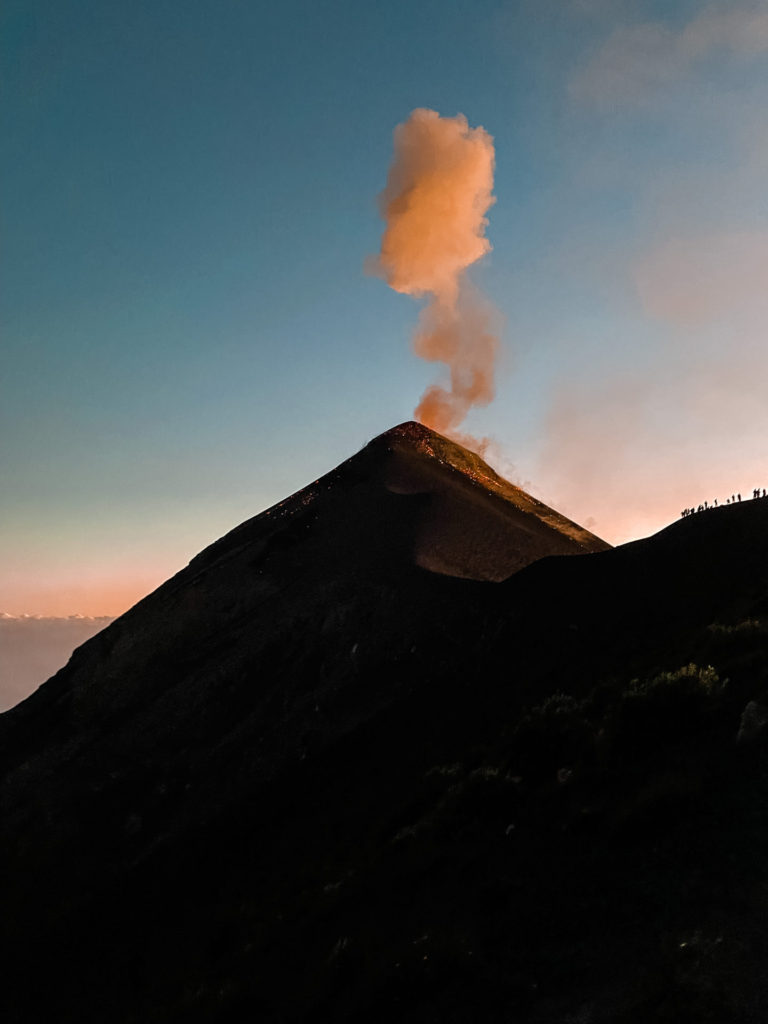
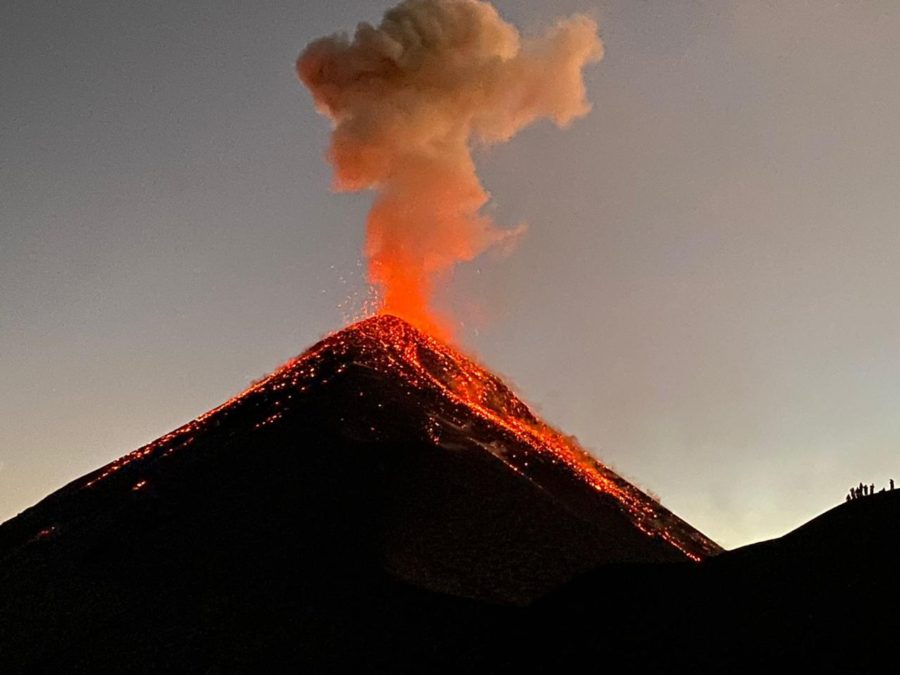
Once we arrived to Fuego, I couldn’t believe my eyes. We were so close to the eruptions, we could hear the lava running down and we could feel the mountain vibrate during a big eruption. It was unbelievable! We stayed there for about half an hour, watching this natural spectacle in awe.
Some people went REALLY close to Fuego (see on the right side of the images above and below). Our guide advised us not to go that close, as it could get dangerous with a big eruption.
When it was time to head back I understood why this hike was known to be really hard. We first descended Fuego, and then we had to climb up Acatenango again to our base camp. This part is the big challenge. It’s an almost vertical path consisting of slippery volcanic sand. It was a challenge to walk and try not sliding back. If you don’t have walking sticks on this part, you’ll have an extremely hard time.
It’s tough but it’s so worth it! When you get back to the camp, a nice fire place, a cup of hot chocolate and dinner will await you and all the struggles will be forgotten.
You can watch the eruptions of Fuego the whole evening/night from your camp. It’s simply magical and unreal to look up to a sky full of stars while a volcano is erupting next to you.
Acatenango Volcano Hike - DAY 2
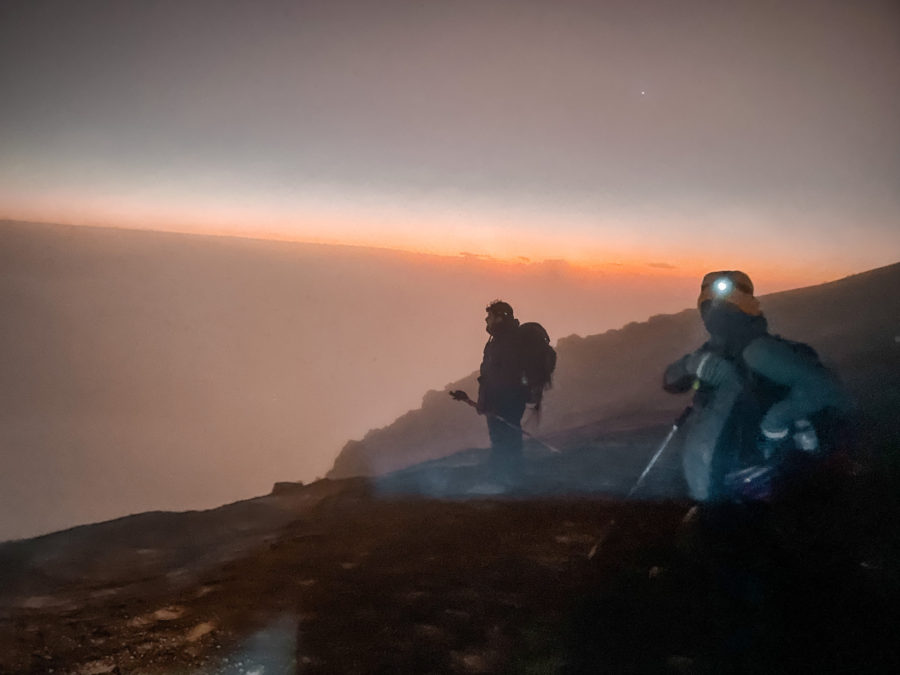
On the second day of the Acatenango Volcano Hike, the guides will wake you up at 4 am for the sunrise hike to the summit of Acatenango at 3,976 m. This hike is included in the price and you don’t need to pay extra. It’s up to you if you want to join the hike, or stay in bed and watch the sunrise from the base camp. If you want to do the sunrise hike, I recommend going to bed early the night before. I couldn’t sleep at all at night (probably a mix of the altitude and the adrenaline) and I did the sunrise hike anyways, but I was completely done and out of energy after that. If you’re too tired for the sunrise hike, you can enjoy a calm morning with beautiful sunrise views from the camp.
Sunrise hike to the peak of Acatenango (optional)
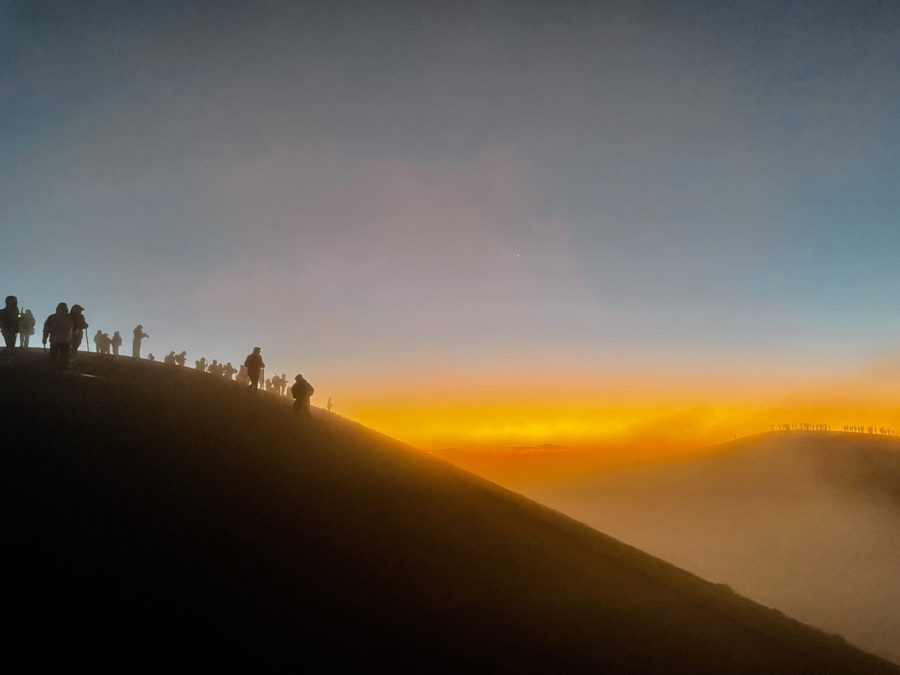
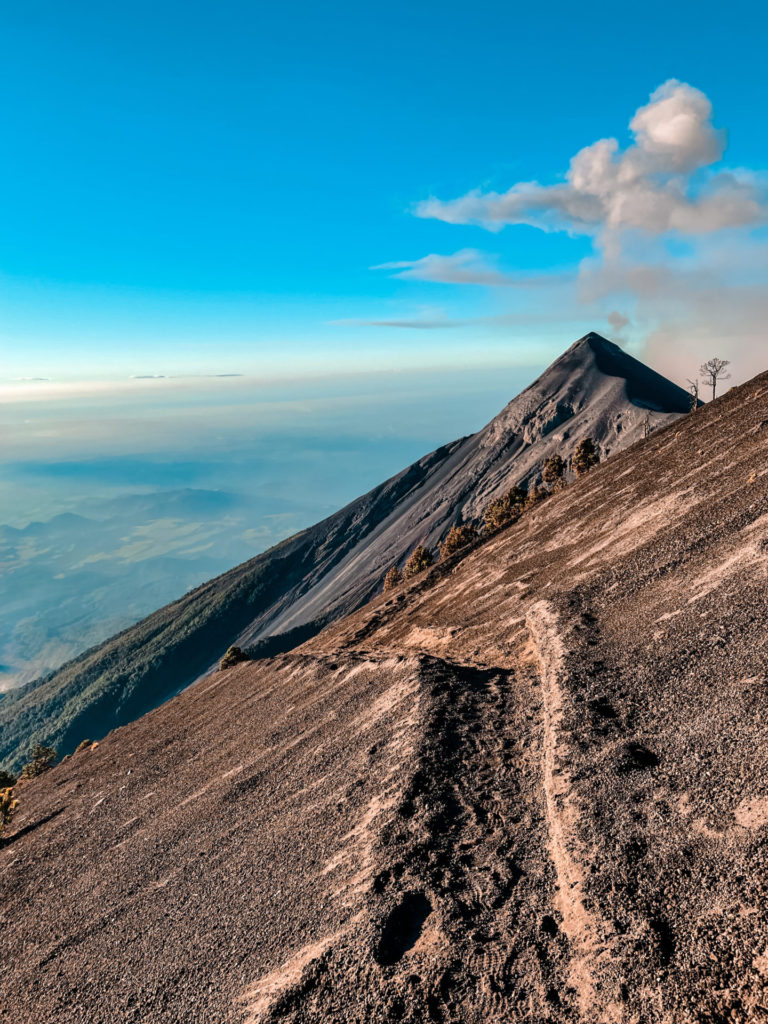
The path to the peak of Acatenango is steep and the volcanic sand makes the climb even harder. Sometimes you take two steps forward and you will slide one step back. It’s also pitch black and really cold. The headlamps and walking sticks are your life saver on this hike.
When we were halfway up, our guide said that we might have to turn around because it could get too dangerous to keep going due to the weather conditions. It was foggy and it had started to rain a bit. But luckily, it got better and we could keep going.
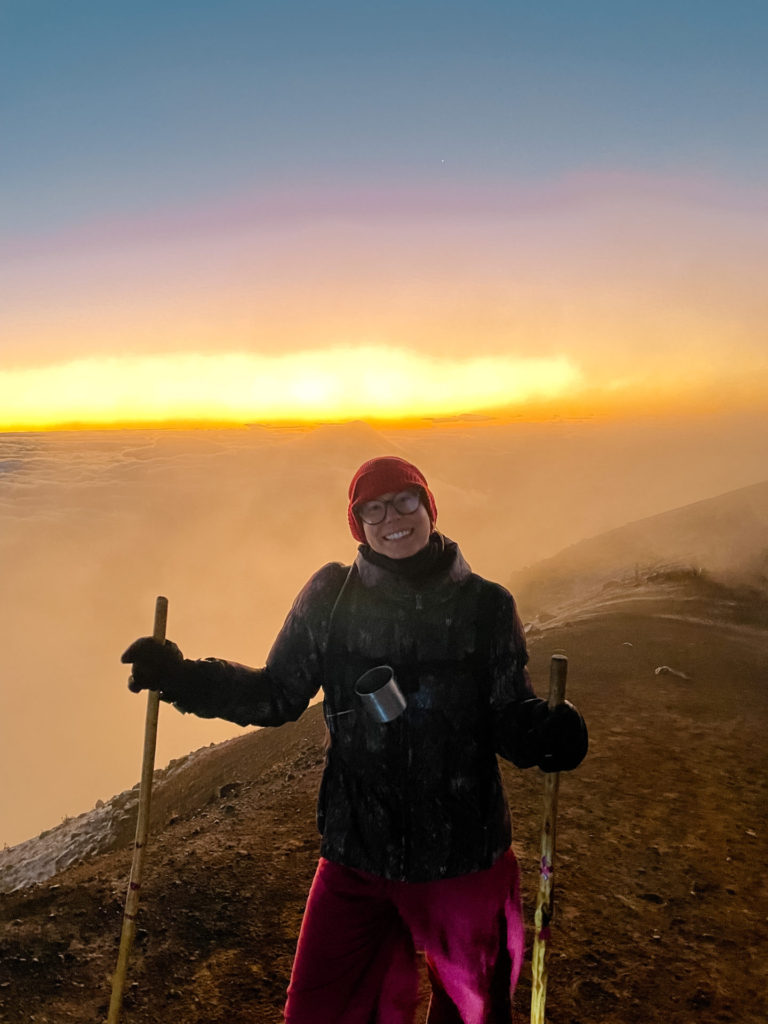
Some people from our group were struggling a lot on this hike and they regretted joining it. From altitude sickness to simply being completely out of breath – this hike is no joke. Also, you’re going up to 400 m higher than the base camp, so the air gets even thinner. Again, I’m not saying this to scare you, I just don’t want you to underestimate it. For me, it was challenging but I was absolutely fine and I enjoyed it. Half of our group really reached their limits and barely made it to the peak, while the other half was feeling great. It really depends on your level of fitness and how well your body can handle the altitude.
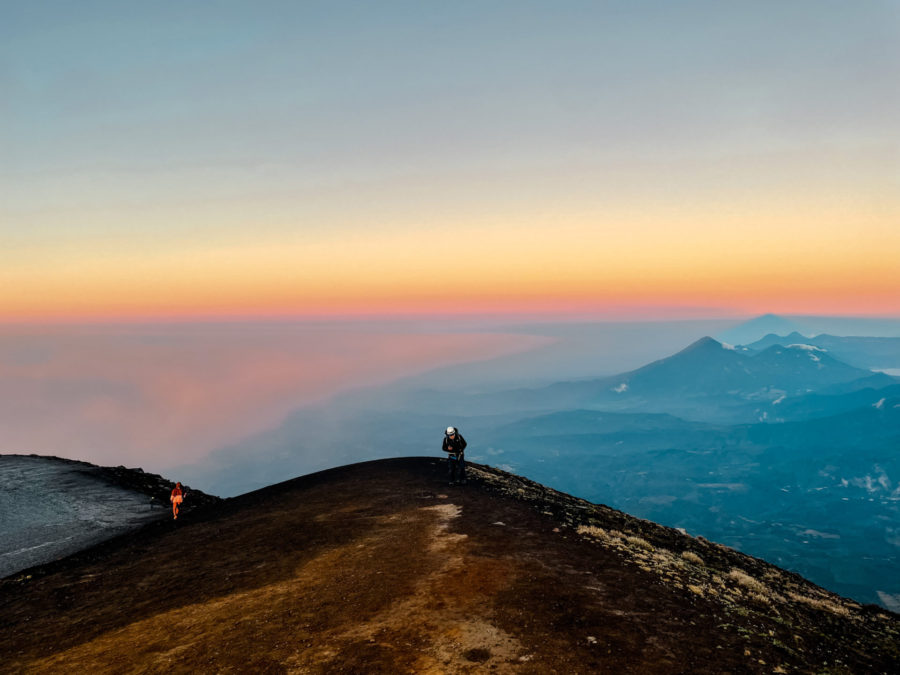
Once you get to the peak, it will be freezing cold. The temperatures are below zero degrees Celsius and the wind makes it feel even colder. But in my opinion, it was absolutely worth it! The sunrise view from up there is insane. And imagine the feeling of achievement you get once you make it to the top. I really do recommend the sunrise hike – as long as you feel that your body can do it.
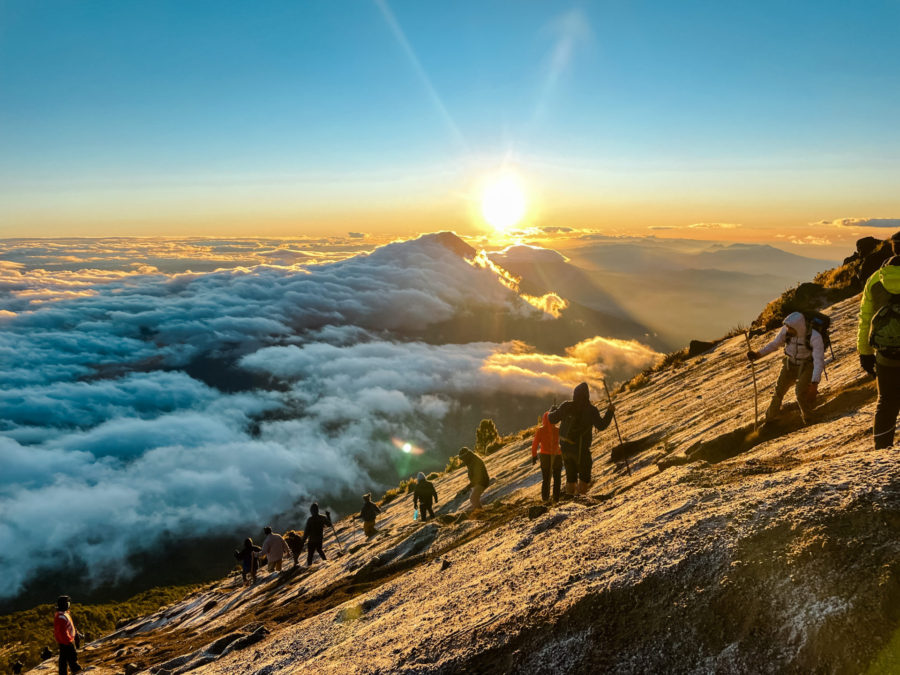
After sunrise you will make your way back down to the base camp again. When I saw the steep path by daylight, I couldn’t believe that we had walked up all this way. I was actually glad that it was dark on the way up and we couldn’t see what was ahead of us.
Breakfast in the base camp
When we got back down to the base camp we had a huge breakfast (an egg muffin, cereal with milk and strawberries and a sandwich with either peanut butter, Nutella or jam). I must say that I was extremely hungry and exhausted at that point. All I wanted to do was crawl into my sleeping bag and take a nap. But unfortunately, we had to pack our backpacks and make our way down from Acatenango right after breakfast.
Descend of Acatenango
Going down the volcano was honestly the hardest part for me. Not because it was actually hard, but because I was so tired and my legs just didn’t want to work anymore. After all the walking up and down I had done in the past 24 hours I just wanted to rest. It took us about 4 hours to descend Acatenango and by the end my legs and knees started to hurt and I just wanted it to be over. I was so happy when we reached the bottom of the volcano and it was an amazing feeling to know that I had done it all and I started realizing that this was one of the most amazing experiences of my life.
Final thoughts - Is the Acatenango Volcano Hike worth it?
Yes, of course it’s absolutely worth it! In case you’re worried about not being fit enough, do some smaller hikes before and see how you feel. If you get a porter you can save some energy and if you only hike to the base camp you should be okay. On the way up you can walk slowly and take as many breaks as you need.
You should have a basic level of fitness for doing this hike, but even if the climb is hard, the views from the top are a great reward and they make up for all the efforts.
You might also like:
- El Paredon – Seculded beach paradise in Guatemala
- San Pedro, Lake Atitlán – Backpacker hotspot, peace and nature
- San Cristóbal de Las Casas – Mexico’s most beautiful mountain town
Sharing is caring!

February 19, 2022 at 5:31 am
Wow! Hiking on a volcano sounds a bit scary but the scenery looks absolutely stunning & it sounds like you had a an amazing experience! Thanks so much for sharing this post. I’ll save it for later…
February 19, 2022 at 12:57 pm
It looks like a very impressive experience! I traveled to Guatemala many years ago but I didn’t have the opportunity to do this hike. Thanks for all the tips!
February 19, 2022 at 2:08 pm
I haven’t been on an overnight hike before but this one looks incredible! It’s such a unique hike to do which I love.
February 25, 2022 at 7:56 pm
It’s truly unique!
February 19, 2022 at 3:17 pm
What an adventure! Would love to do this trip. Seeing actual lava must be amazing. I have added this to my bucket list!
February 25, 2022 at 7:56 pm
It was an insane adventure! I’m sure you’d love it!
February 20, 2022 at 4:31 pm
Thank you for this detailed post. I am doing the hike in March. I was going back and forth about hiring a porter and this really helped me make up my mind. Stupid question, if someone has your bag how did you access your water during the hike?
February 24, 2022 at 6:27 pm
Hi Becky! If you go with CA Travelers you will have a camelbak with your water, which you can wear like a backpack. So you’ll only be carrying your water 🙂